When users add information to a forum or a post, they will see toolbars.
Using the tools will help users:
- Add text
- Add a link
- Add a photo
- Add a voice recording
- Add a video recording
- Add an emoticon/emoji
- Add a list
- And more!
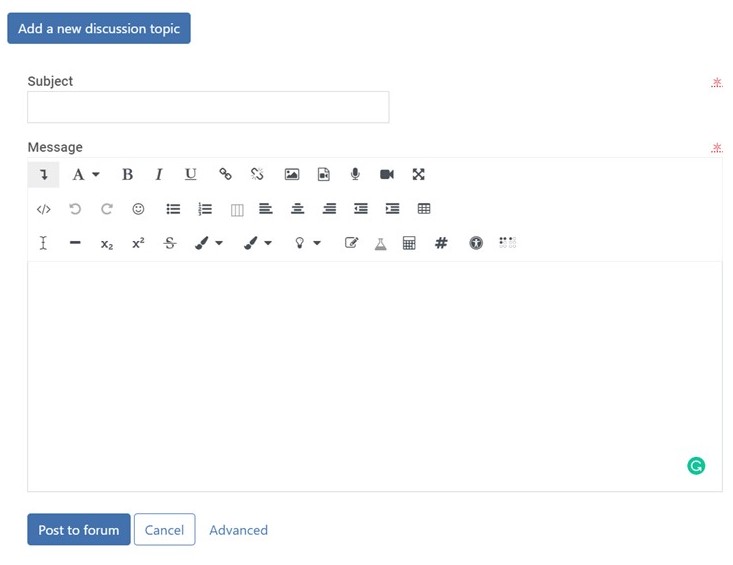
When adding information to the classrooms, users will usually see three spaces:
- Space for the subject
- Space for the user’s message
- Drag and drop an attachment
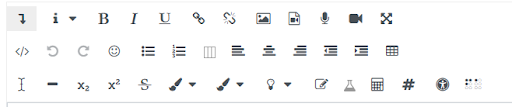
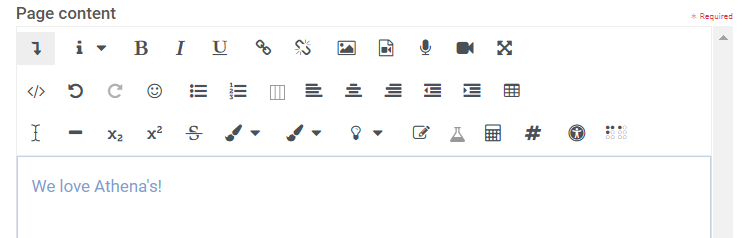
Instead of seeing the Toolbar as described in the General Toolbar Information above, they may see something that looks like the image below.
To view the Toolbar, click the Use advanced editor and additional options link (as seen below).

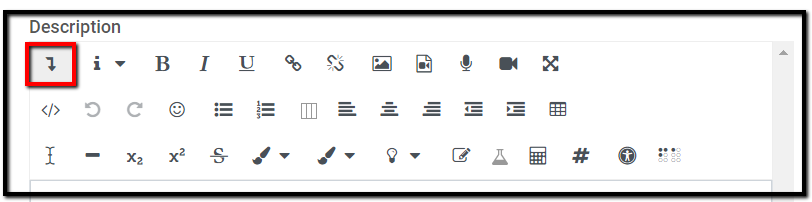
This is an image of the collapsed toolbar.
Click the arrow boxed above to view all of the tools in the toolbar.
Top Row
- Show/hide more buttons: Toggle the toolbars
- Paragraph styles: Choose between the sizes of your text: headings (large, medium, small), pre-formatted, and paragraph (normal size)
- Bold: Bold text
- Italic: Italicize text
- Underline: Underline text
- Link: Create a link by highlighting the text and then pasting a link in the appropriate area by following the prompts. Make sure the only information linked to is Rated G unless otherwise noted by the instructor.
- Unlink: Unlink a link by highlighting the text and following the prompts
- Insert or edit images: Insert an image by dragging and dropping it into the field or following the prompts when the button is clicked
- Insert or edit an audio/video file: Add a file by following the prompts
- Record audio: Add a file by following the prompts
- Record video: Add a file by following the prompts
- Toggle fullscreen: Toggle to make the area larger
Middle Row
- HTML: If the user knows how to code in HTML, they can create their post using HTML
- Undo: Undo an action
- Redo: Redo an action
- Emoticon: Place an emoticon/emoji
- Unordered list: Create a bulleted list
- Ordered list: Create a numbered list
- Bootstrap grid: Add a grid
- Left align: Align text to the left of the screen
- Center: Align text to the center of the screen
- Right align: Align text to the right of the screen
- Outdent: Move your text back to the left
- Indent: Move your text in a bit to the right
- Table: Add a table
Bottom Row
- Clear formatting: Remove formatting
- Horizontal rule: Insert a line
- Subscript: Insert a subscript
- Superscript: Insert a superscript
- Strikethrough: Strikethrough your text
- Font color: Change your font color
- More font colors: Change your font color some more
- Background color: Create a highlight behind your text
- Insert character: Insert a symbol
- Chemistry editor: Work with chemistry text
- Equation editor: Work with equations
- Word count: Count the number of posted words
- Accessibility checker: Check the accessibility of your text
- Screenreader helper: Get help with screenreader
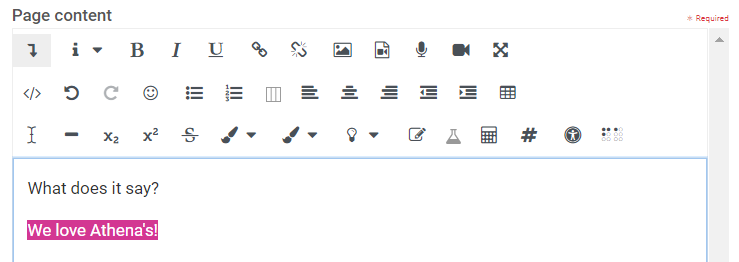
Sometimes, students enjoy posing hidden answers to questions they pose. Here’s an example of how to do that.
- Place a word or phrase
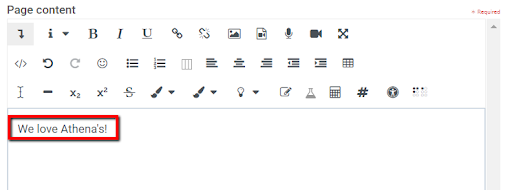
- Highlight that text (it will highlight pink) and choose a color in the first color palette
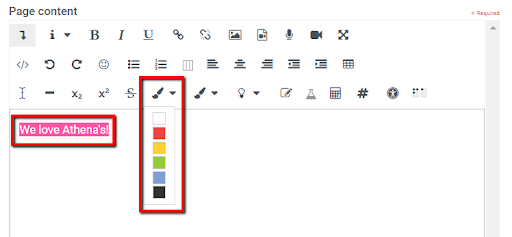
- The text will turn the color chosen
- Highlight the text again (it will highlight pink) and choose the same color in the background color list
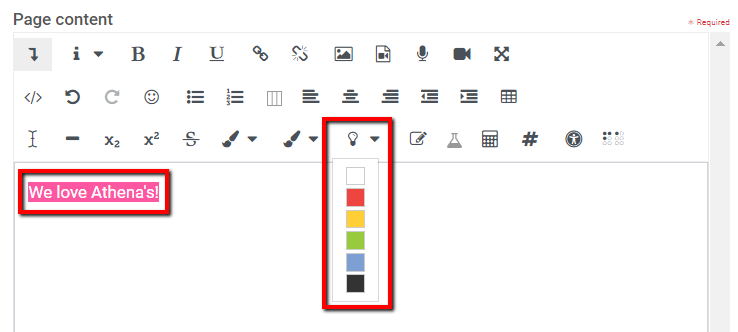
- Now the text looks like that same colored line–when someone looks at it, they will not be able to see what is underneath unless it is highlighted
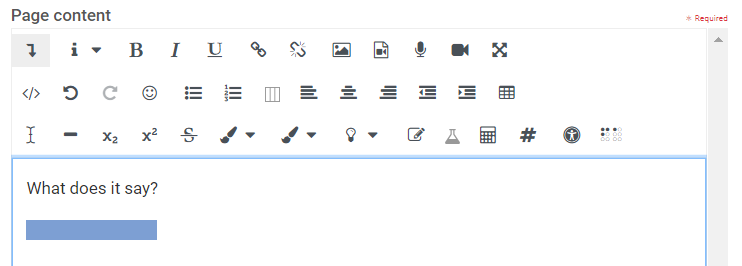
- Find out what is written underneath by highlighting the text to read it.
- To eliminate the highlighting, click Undo a couple of times or change the font color and highlighting color
Instructors will often place assignments each week in classrooms that require a response.
Although some assignments require a written response (such as a writing class), oftentimes users may want to respond to the forum or assignment using an audio or video recording instead.
- Recording audio or video responses requires the student’s parent’s permission.
- Recordings remain a part of the classroom and are password protected.
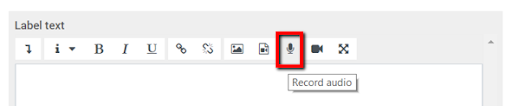
Record an Audio Response
- Locate and click on the Record Audio button in the toolbar.
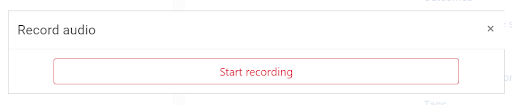
- Click Start recording.
- Speak into your microphone to record your voice. You will have two minutes to say what you want to say. Be sure your recording is appropriate for General audiences (Rated G).

- Listen to your recording before you post.
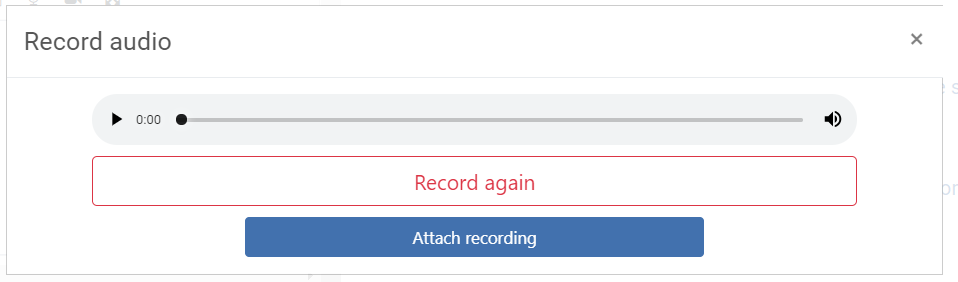
- Choose the appropriate step below.
- Record again if you are not satisfied with your recording.
- Attach the re-recording if you are satisfied with your recording.
Instructors will often place assignments each week in classrooms that require a response.
Although some assignments require a written response (such as a writing class), oftentimes users may want to respond to the forum or assignment using an audio or video recording instead.
- Recording audio or video responses requires the student’s parent’s permission.
- Recordings remain a part of the classroom and are password protected.
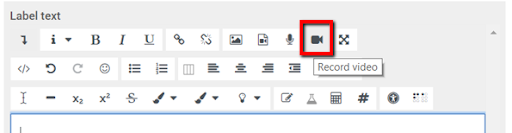
Record a Video Response
- Locate and click on the Record Video button in the toolbar.
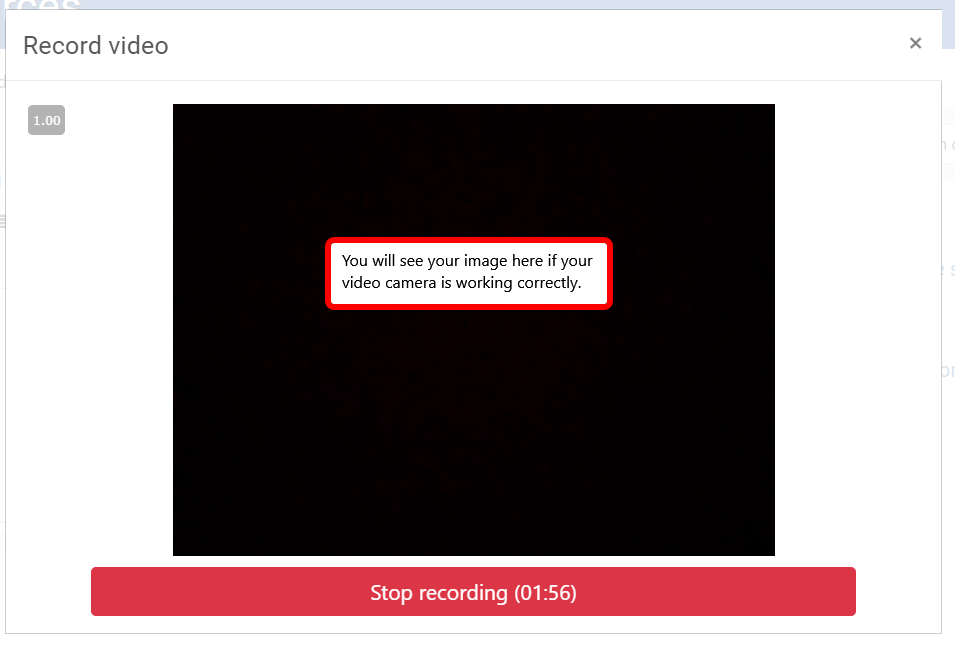
- Click Start recording.
- Using your camcorder and microphone, record what you want to say. You will have two minutes to say what you want to say. Be sure your recording is appropriate for General audiences (Rated G).
- Listen to and watch your recording before you post.
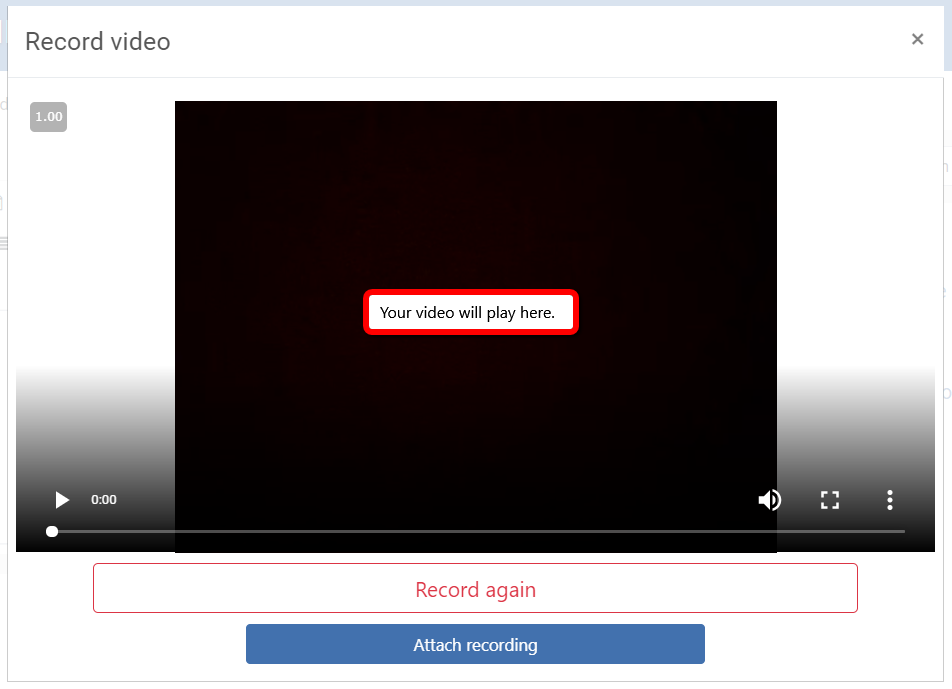
- Choose the appropriate step below.
- Record again if you are not satisfied with your recording.
- Attach the re-recording if you are satisfied with your recording.