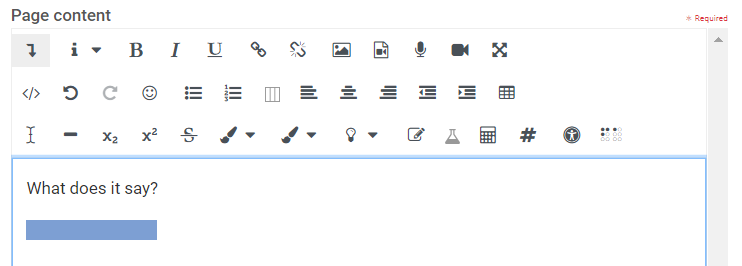
Sometimes, students enjoy posing hidden answers to questions they pose. Here’s an example of how to do that.
- Place a word or phrase
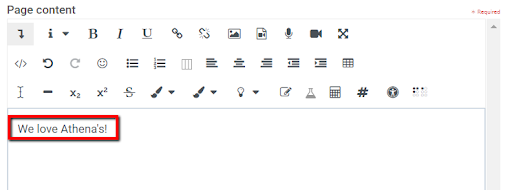
- Highlight that text (it will highlight pink) and choose a color in the first color palette
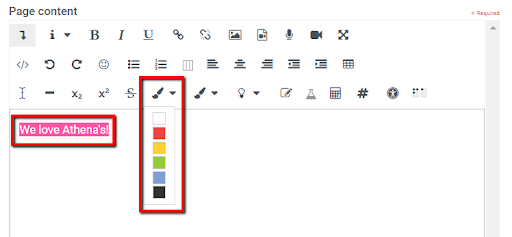
- The text will turn the color chosen
- Highlight the text again (it will highlight pink) and choose the same color in the background color list
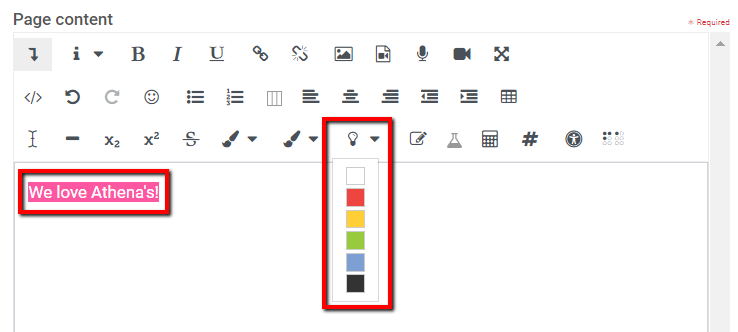
- Now the text looks like that same colored line–when someone looks at it, they will not be able to see what is underneath unless it is highlighted
- Find out what is written underneath by highlighting the text to read it.
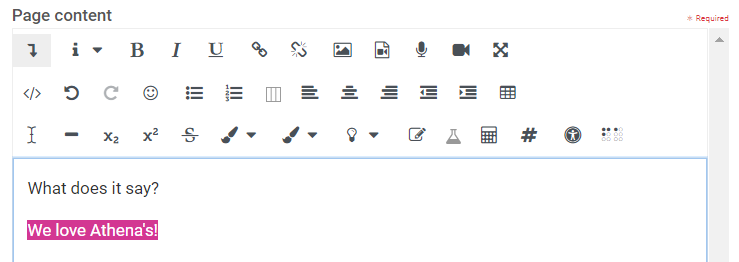
- To eliminate the highlighting, click Undo a couple of times or change the font color and highlighting color
Students: Work with an adult to discover how to take a print-screen / screen-shot and save the image to your computer.
Students should know how to copy & paste on their computer.
- Screenshots come in handy during the webinars (or when watching the webinar recordings) when students want to remember & capture information on the whiteboard quickly.
- Screenshots are helpful when students wish to share something they create on the computer such as their timelines, a file too large to upload, a Minecraft project, comic strip, etc.
- Screenshots are helpful when students need to share what they see on their computer (e.g. an error, etc.)
Many of the assignments may require you to upload screenshots of your work. It is a relatively simple process to capture a screenshot of almost any web page you are browsing or an online project. Screenshots can be pasted into virtually every application. Complete these steps to capture a screenshot:
For Windows OS
- Click the Print Screen key on your keyboard while on any page. If you are using a laptop, you may need to press Function and Print Screen simultaneously.
- Open OpenOffice Writer or Microsoft Word.
- Position your cursor where you want the screenshot to appear.
- Press Control + V, or right-click and select Paste from the shortcut menu. Your screen capture is pasted into your document.
For Mac OS X
- Press the Command key, Shift key, and 4 key simultaneously.
- Your cursor will become cross-hairs, allowing you to select a specific screen area to capture. Your screen capture is saved to your computer. It is most likely on your desktop.
Alternatively, you can use a screen capture program (e.g., SnagIt, Photoshop, or TechSmith Capture).
If your photo is too large to upload, some students have success with the features on their computers or their parents’ computers. Check with your parents first!
Alternatives:
- Take a screenshot of the photo.
- Resize here: https://imagy.app/resize-image-to-500kb (Students, check with a parent first before using this webpage.)