If you have the opportunity to present in a course, start by doing the following:
- Think about the subject of your presentation (what you would like to talk about in your presentation).
- Sign up for a presentation in your respective classroom according to your instructor’s instructions.
- Begin gathering information and researching information about your topic. Remember to follow your instructor’s instructions.
- If you don’t know what program to use to create your presentation, ask your parents to help you locate a program. Most students use Google Slides or PowerPoint. However, other platforms can be used! Some students create videos, some create dioramas, and others create timelines. Unless your instructor has other instructions, the program you use should be one where you can save your presentation to a PDF or video format.
- Make sure your PDF presentation is in landscape formatting (not portrait).
- Be sure you know when you should send the presentation to your instructor to make sure it is ready for the webinar. Most instructors will need you to email your presentation to them at least 24-hours before the webinar.
Unless otherwise directed, save your presentation using the following format:
- Week # – Your Name – Course Name – Course Section
The week number should correspond to the week you are presenting.
For example, if you are presenting during Week 3’s webinar, put Week 3.
Example: Week 3 – Headmistress Athena – World Geography – 7 AM
If your course does not have a Course Section (e.g. 7AM), do not include the Course Section
Example: Week 3 – Headmistress Athena – World Geography
Using the information you gathered, begin your presentation by creating a Title page. It is recommended to include the following on your title page.
- Your title
- Your course name
- Your name
- Photos or designs to add interest
It is recommended to include the following on your content pages.
Keep the information/text on your presentation simple.
- Remember, if you get information from a source, be sure to paraphrase what is written. Do not copy the text directly. You will want to avoid plagiarism.
- Do not put all the words you are going to say on your presentation itself.
- If you need notes, place what you are going to say in another document or in the “Notes” section of your presentation.
- When you are giving your presentation, you can refer to the notes on your computer. That way, no one else will be able to see your notes.
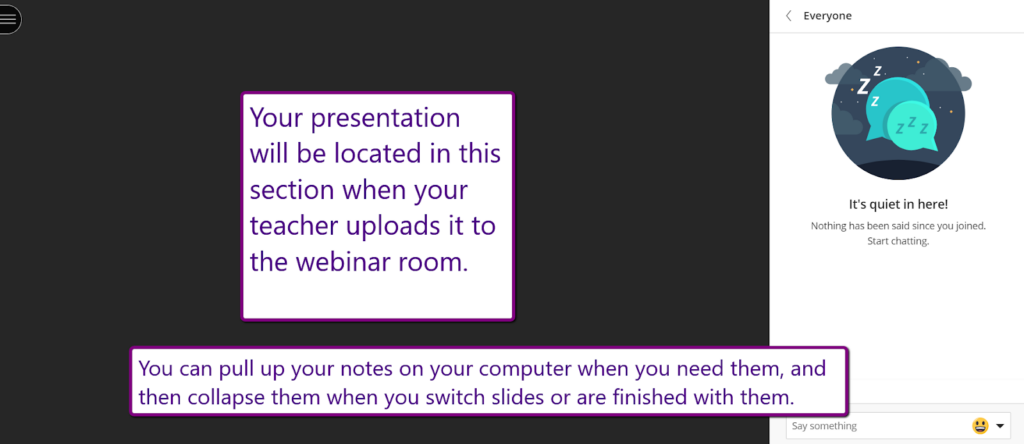
You can pull up your notes on your computer when you need them, and collapse them when you switch slides or are finished with them.
Add visual elements.
Think about what you enjoy seeing in online presentations and add elements that are visually appealing. Photos are the most popular elements to add.
A note about photos.
You are welcome to use photos you find on the Internet in your presentation. Please remember to record where you found your photos and put that in your notes on your References page.
Be sure the photos are Rated G unless your instructor says otherwise. If in doubt, email/ask your instructor.
Create a page for References.
Add a page of References— where you found the information you used for your presentation.
- When researching information, it is good to look for a few things before you use the information as a source for your research.
- Just remember P.R.O.P.! Watch this video to find out what P.R.O.P. stands for!
- Bubbl.us Mind Maps
- Parents must sign their student up for this free service (free sign-up may be near the bottom of the page).
- Create a Mind Map for your project or for your class.
- Take a screenshot to save it to your computer.
- Video: How to — Intro to Bubbl.us Mind Maps
A video by Junior Instructor Alex the Polymath from A Fox’s Den
Pixilart
Free, online drawing editor (pictures, comics, etc.) and social platform.
As with all of the URLs listed here, parents should preview before students sign up.
Dioramas are a creative way to explore what you are learning about. If you are inspired by the information in this section, you might want to create a diorama during your course, regardless of whether there’s a diorama assignment.
- Video: How to Make a Forest Diorama– Martha Stewart
Martha Stewart and her young friend Emma Redman make a diorama of a forest with different colored paper. Although this project shows a young student, older students can also create amazing dioramas as well. - Diorama project search on a craft blog
Brainscape
Decks is a flashcard-learning application. The basic plan is free. It’s easy to use and fun to create!
Decks
Decks is a flashcard-learning application. Brains learn best through spaced repetition, and that’s what Decks does! You can create your own flashcards through the Decks website and access pre-made flashcards from their main website, Memrise.
- Video: How to use Decks from Memrise — Tutorial
A video by Junior Instructor Alex the Polymath from A Fox’s Den
Memrise
- Memrise — Pre-made language flashcards
Memrise is a flashcard-learning application. Brains learn best through spaced repetition, and that’s what Memrise does! You can access pre-made language flashcards through the main Memrise website and create your own from their other website, Decks. - Video: How to use Memrise — Tutorial
A video by Junior Instructor Alex the Polymath from A Fox’s Den
Free, online drawing editor (pictures, comics, etc.) and social platform.
As with all of the URLs listed here, parents should preview before students sign up.
Poster My Wall
- Poster My Wall
- Click “Create a Design”
- Choose a template/design
- Edit your poster
- Click “Download” — Choose “Free! Basic Quality Download”
- Download to your computer (will include a watermark)
- Add to your course or take a screenshot to add to your course
- Video: How to Create a Poster in Poster My Wall
A video by Junior Instructor Alex the Polymath from A Fox’s Den
There are many ways to make a timeline. You can make a timeline using pen & paper, post-it notes, a notebook, posterboard, etc.
Some students create timelines on their computers. Many computers and computer programs have timeline capabilities. Timelines can be created on programs such as Google Docs, Google Sheets, Word documents, PowerPoint, Adobe Spark, Office Timeline, etc.
Other students also use free versions of timeline sites. If you use one of these, remember you may not be able to download your work. Although you could record your screen.
- https://time.graphics/
- https://www.sutori.com/ → https://www.sutori.com/pricing (choose the *free* version)
- https://www.lucidchart.com/pages/examples/timeline-maker → https://app.lucidchart.com/users/registerLevel#/pricing (choose the *free* version)
- https://www.timetoast.com/plans (public free version — your timeline will be public)
Big Huge Labs
- Big Huge Labs
Free site where you can create web-based projects like movie posters and trading cards. - Find or create a picture. You can find a picture on the internet, draw and scan your own creation, or take a photograph.
- Upload your picture to the free movie poster creator or trading card maker, etc. at Big Huge Labs.
- Add a title, and some text about your movie. What will your potential viewers want to know?
- Save your project to your desktop.
- Attach your project or a screenshot of your project to the corresponding forum in the classroom.
- Video: How to Create a Movie Poster in Big Huge Labs – Use what you learn here and apply it to trading cards instead.
A video by Junior Instructor Alex the Polymath from A Fox’s Den
Created using WordArt
WordArt
Generate your own free “word clouds” from text that you provide. Review the FAQ section to learn more about WordArt: https://wordart.com/faq
After creating your “word cloud,” save it by:
- Click “print” and save to your computer instead of printing.
- Take a screenshot and save it to your computer.
- Video: How to Create Word Art
A video by Junior Instructor Alex the Polymath from A Fox’s Den